Painting oak furniture is one of the easiest ways to breathe new life into your space without breaking the bank. I’ve always loved how a fresh coat of paint can completely transform a piece, turning something dated into a stunning focal point. Whether you’re updating an old oak dresser or giving your dining table a modern twist, the right approach can make all the difference.
Oak’s natural grain and durability make it a fantastic canvas, but it does come with its quirks. If you’ve ever wondered how to get that smooth, professional finish, you’re not alone. With the right tools and a bit of prep work, you can achieve results that look like they came straight from a showroom. Let me guide you through the process so you can tackle your next project with confidence and creativity.
Understanding Oak Furniture
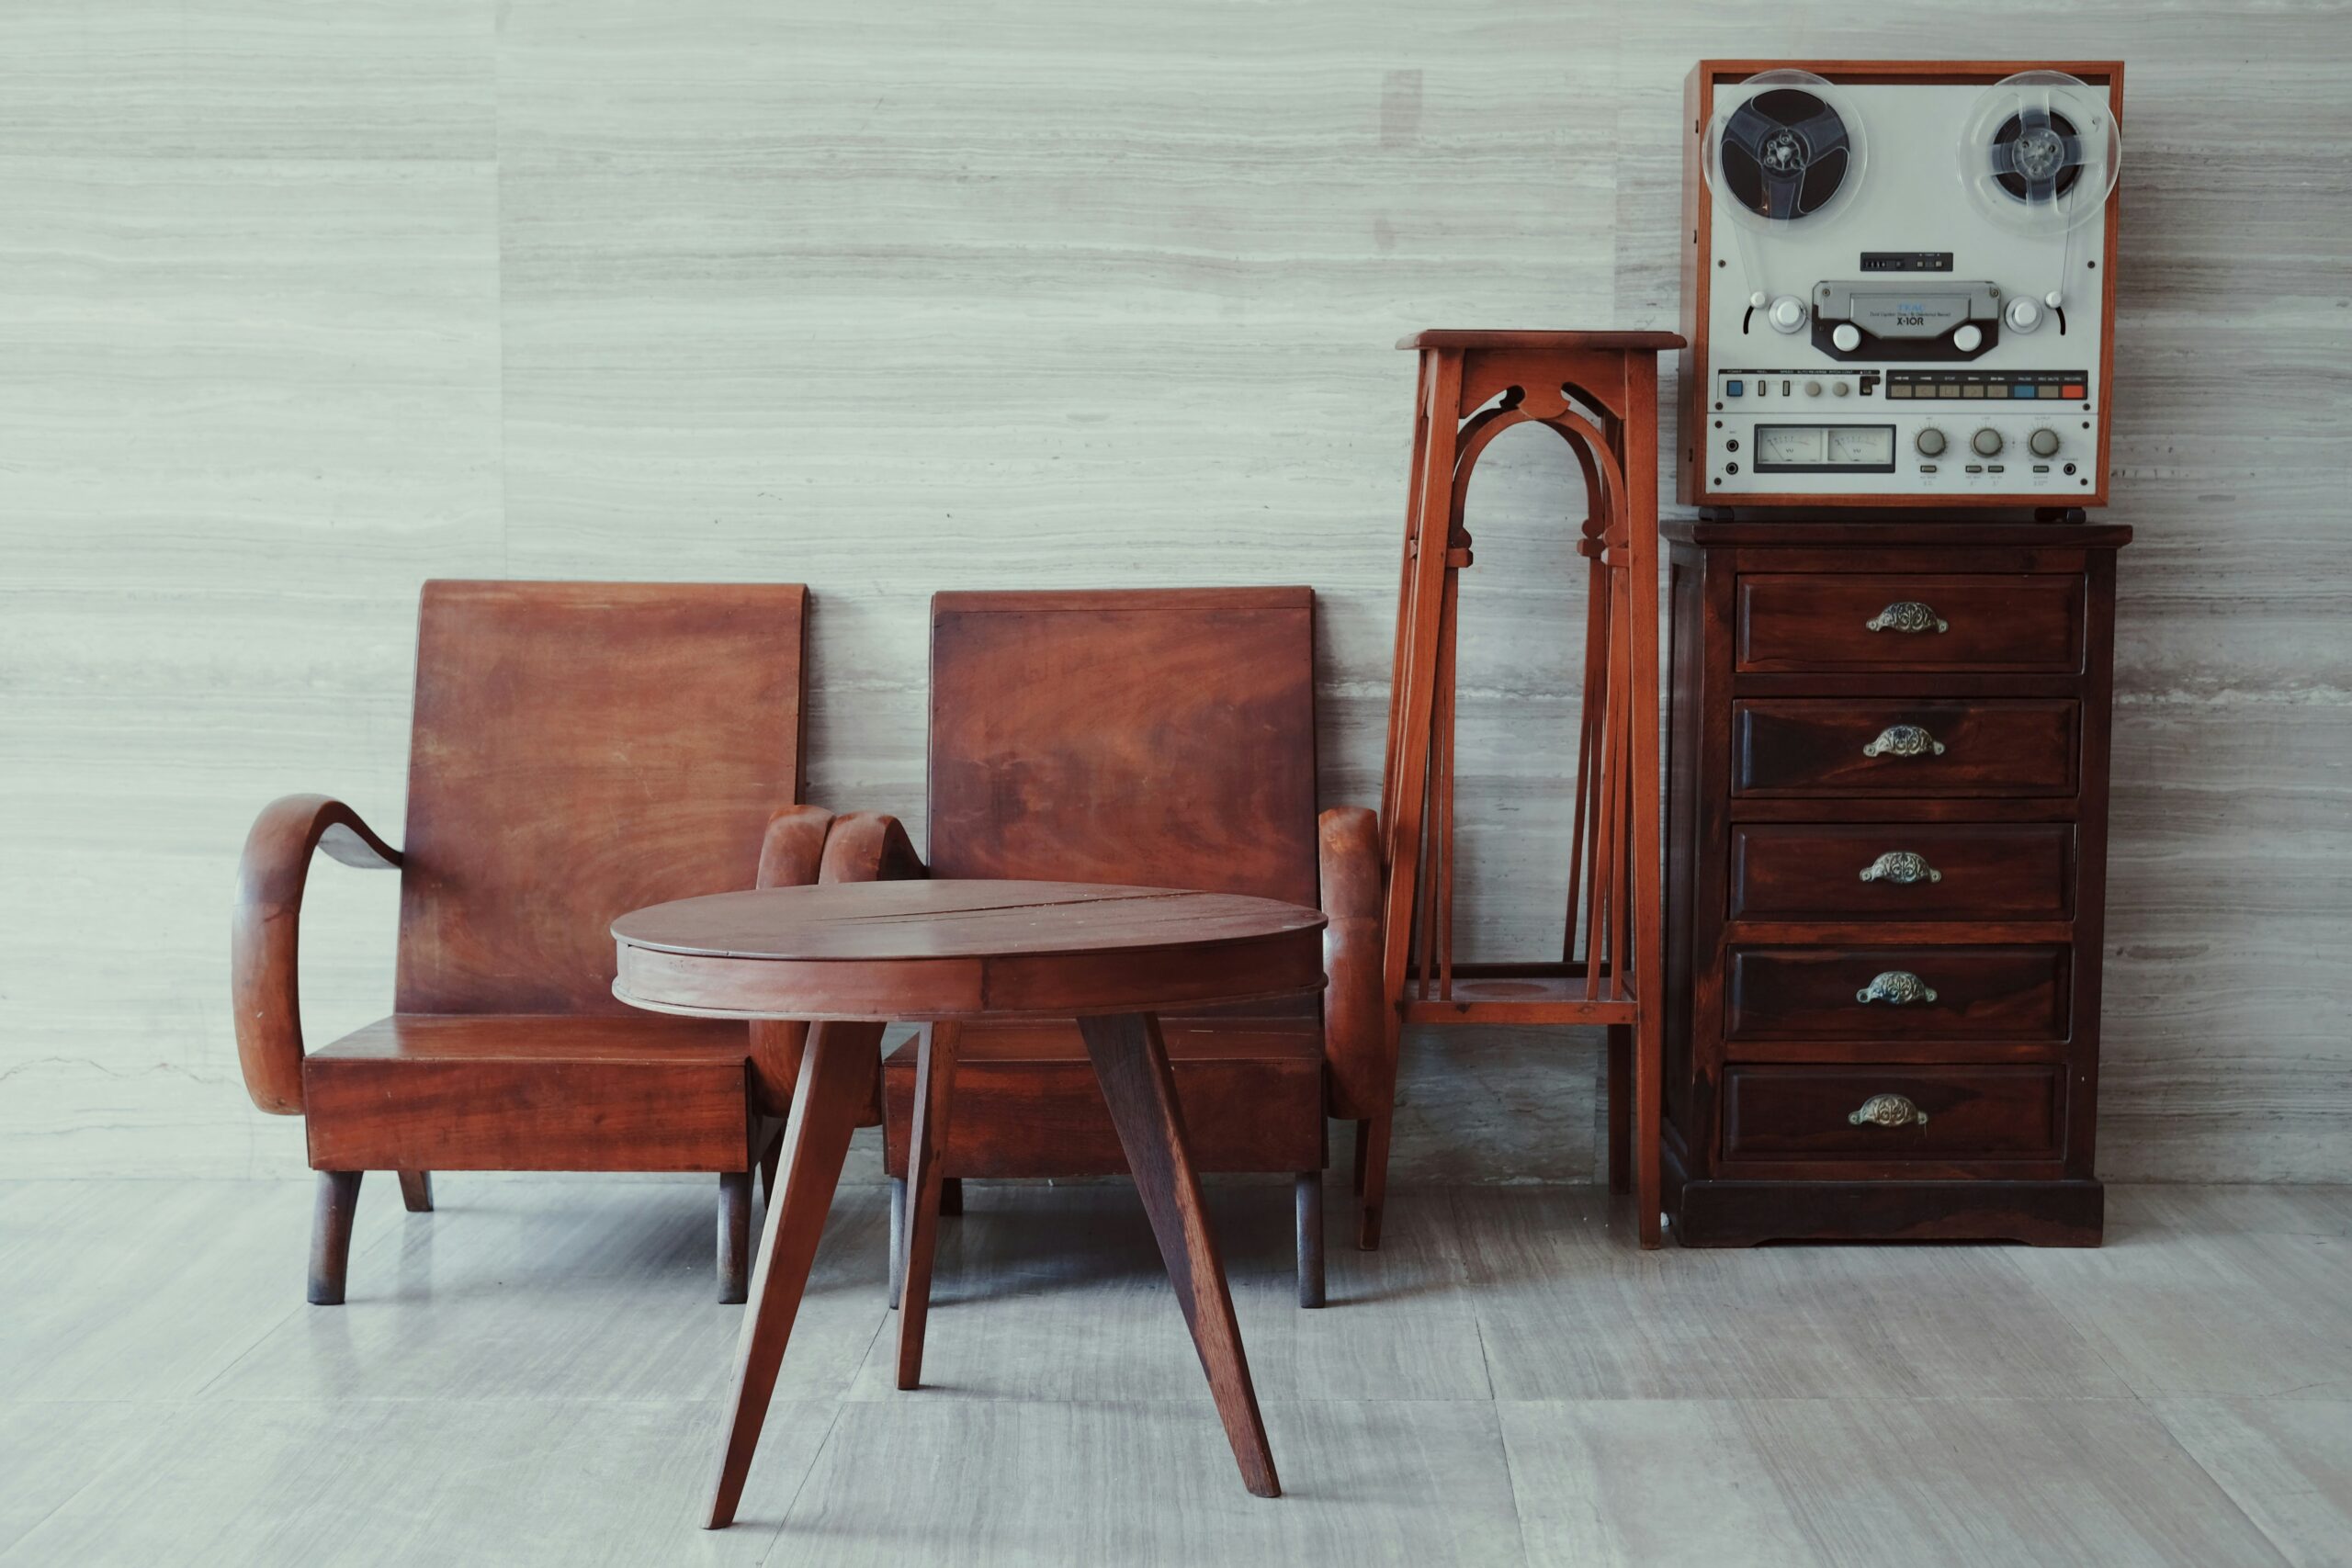
Oak furniture stands out for its timeless appeal and exceptional durability. Its natural grain enhances its beauty and makes it a favorite for painting projects.
Why Oak Furniture is a Popular Choice
Oak furniture is valued for its strength and longevity. Its dense composition resists wear, making it suitable for both functional and decorative pieces like cabinets and coffee tables. In addition to being practical, oak furniture often features intricate craftsmanship that complements various interior design styles, from rustic to modern.
Unique Characteristics of Oak Wood
Oak wood has a prominent grain pattern and a smooth texture, making it ideal for painting. It absorbs paint evenly, provided the surface is prepped correctly, and holds up well to sanding. Its natural density ensures stability and reduces the likelihood of cracking or warping over time. These attributes allow oak to both showcase paint finishes and retain structural integrity after years of use.
Preparing Your Oak Furniture for Painting
Proper preparation ensures a smooth paint application and improves the durability of the finish. Taking the time to clean, sand, and prime your oak furniture lays the foundation for professional results.
Cleaning and Sanding the Surface
I start by thoroughly cleaning the oak furniture to remove any dust, dirt, or grease. A damp cloth with mild dish soap works well for this step. After cleaning, I let the surface dry completely to avoid trapping moisture under the paint.
Once clean, I sand the surface using 120- to 150-grit sandpaper. Sanding removes old finishes, smooths imperfections, and helps paint adhere better. For intricate carvings, I use sanding sponges or sanding blocks to reach detailed areas. After sanding, I wipe the surface with a tack cloth to eliminate residual dust.
Choosing the Right Primer
I choose a high-quality primer to seal the oak’s grain and prevent tannins from bleeding through the paint. Oil-based primers work best for this, but water-based options labeled for stain-blocking are suitable alternatives. Before applying, I make sure the primer is compatible with my chosen paint type. Using a small brush for corners and a foam roller for flat surfaces ensures even coverage. I allow the primer to dry completely as specified by the manufacturer before moving to the next step.
Selecting the Perfect Paint
Choosing the right paint is essential for achieving a durable and professional finish on oak furniture. The paint type and color directly impact the final appearance, durability, and compatibility with oak’s unique grain.
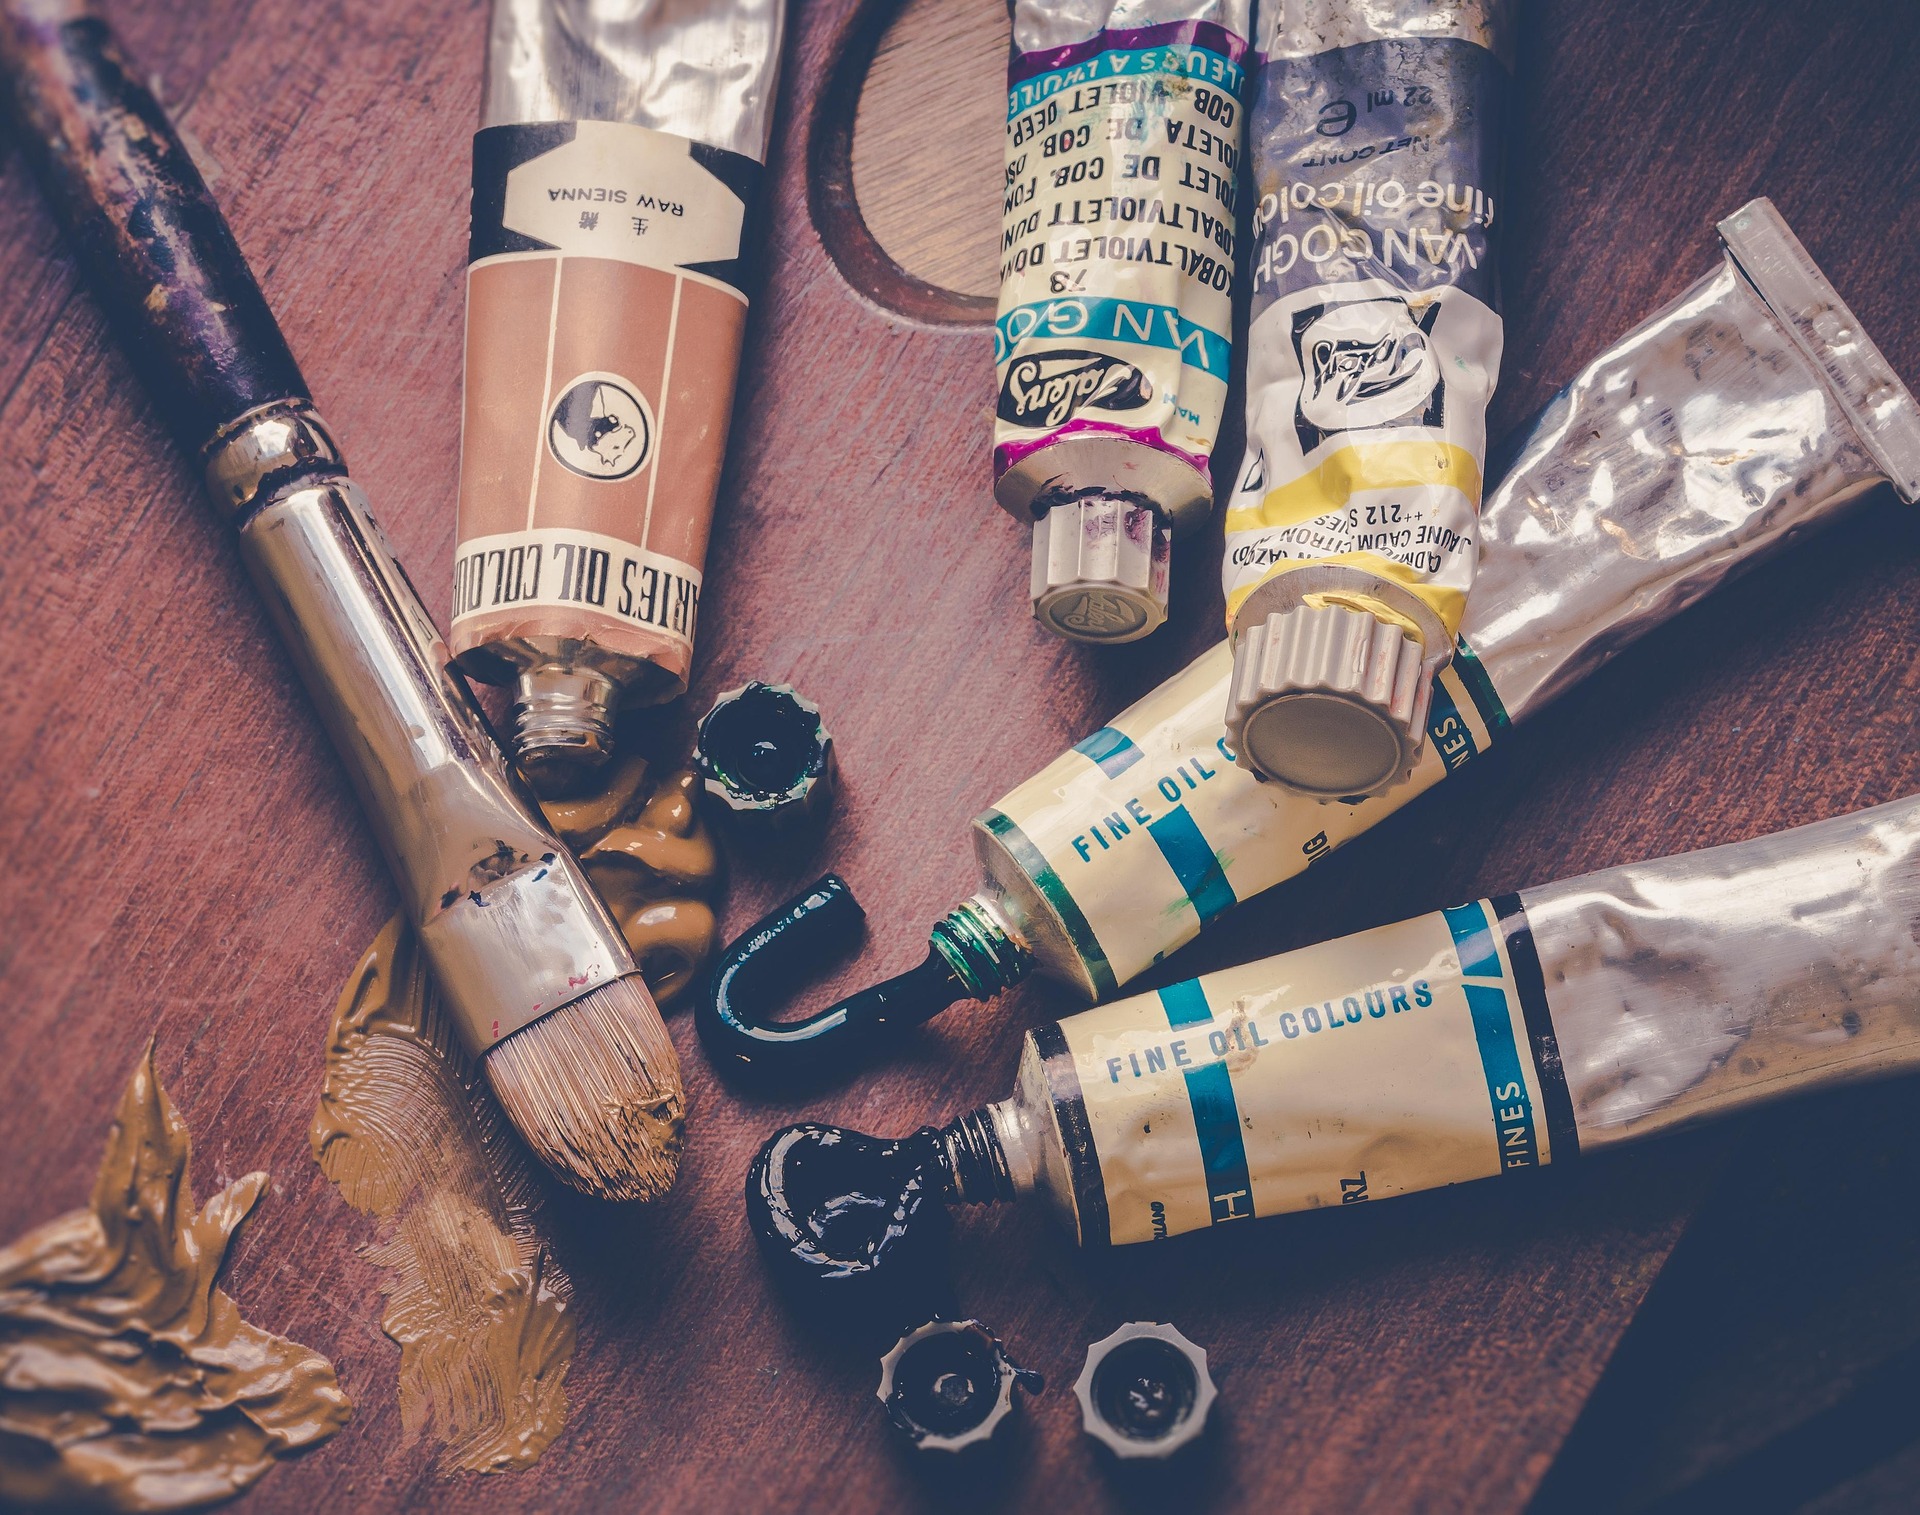
Types of Paint Suitable for Oak Furniture
Paint formulated for wood surfaces provides the best results on oak furniture. Acrylic-based and chalk paints are popular choices depending on the desired finish.
- Acrylic Paint: Delivers a smooth, long-lasting finish, ideal for high-use furniture like tables and chairs. It’s water-based and resistant to chipping, making it perfect for oak’s durable surface. For example, consider acrylic paints with a semi-gloss or satin finish to highlight oak’s grain.
- Chalk Paint: Creates a matte, vintage look, excellent for accent furniture like sideboards or small cabinets. Its thick consistency reduces the need for multiple coats, though a topcoat or wax seal keeps it from wearing prematurely.
- Oil-Based Paint: Works well for furniture exposed to heavy use or moisture, such as kitchen cabinets. This option provides a hard, glossy finish that resists staining but requires more drying time and proper ventilation.
Checking compatibility with primers used during preparation can ensure consistent adhesion and even coverage.
How to Pick the Right Color
Color selection enhances oak furniture’s style and complements the surrounding decor. A few factors might help guide the choice.
- Existing Interior Design: Light neutral shades like off-white or pale gray blend with modern or minimalist styles, while dark tones like navy or charcoal create drama in a room.
- Oak’s Grain Visibility: Transparent or semi-transparent finishes, like whitewash or muted pastels, preserve the wood’s natural texture. This works well for those wanting to highlight oak’s beautiful grain patterns.
- Usage and Maintenance: Lighter shades may require frequent cleaning if used on pieces prone to everyday wear. Darker or muted colors can hide minor imperfections over time.
Testing the color on a small, inconspicuous area before full application ensures the final result aligns with expectations.
Step-By-Step Guide to Painting Oak Furniture
Painting oak furniture involves a structured process to achieve a professional, long-lasting finish. Following each step carefully ensures the best results.
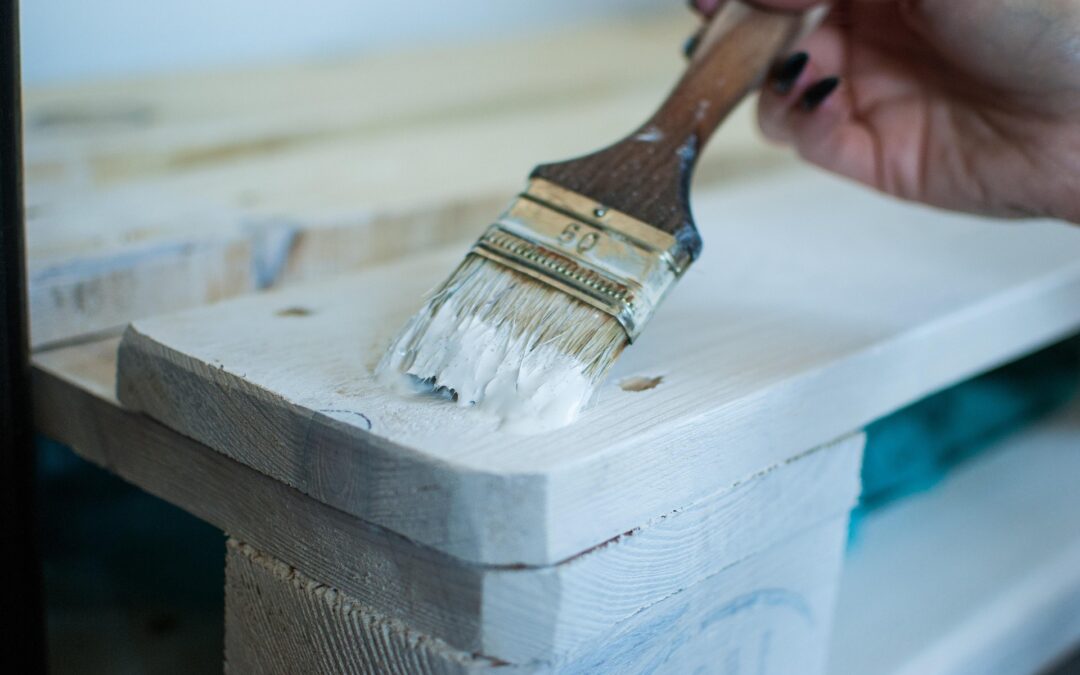
Applying the Primer
Priming oak furniture prepares the surface by sealing the grain and preventing discoloration from tannins. I apply an oil-based primer or water-based primer suited for wood, using a high-quality brush for precise coverage. Starting with smooth, even strokes, I ensure all areas, including corners and edges, are coated evenly. After allowing the primer to dry fully per the manufacturer’s instructions, I lightly sand the surface with 220-grit sandpaper to enhance adhesion and remove any raised grains. Wiping with a tack cloth after sanding eliminates any residual dust.
Painting Techniques for Smooth Finishes
Using proper techniques when applying paint reduces brush marks and creates a uniform appearance. I select a paint type, such as acrylic or chalk, based on durability and design goals, ensuring consistent application. I begin by painting smaller sections and edges first, working my way to larger, flat areas. Layering thin coats of paint instead of a single thick layer prevents drips and promotes even coverage. After each coat dries, I sand lightly with 320-grit sandpaper to smooth out irregularities, cleaning away dust with a tack cloth. I repeat this process for two to three coats, depending on the desired opacity.
Sealing and Protecting the Paint
Sealing the painted surface maintains its appearance and increases durability. I choose a clear topcoat, such as polyurethane or polycrylic, based on the furniture’s usage. For example, polyurethane provides stronger protection for frequently used surfaces. I apply the sealer using a foam brush or applicator in long, even strokes, avoiding pooling or overapplication. Allowing the first coat to dry completely, I sand again with fine-grit sandpaper before adding a second coat for enhanced protection.
Common Mistakes to Avoid
When painting oak furniture, avoiding common mistakes ensures a smooth, durable finish. These errors can compromise the final look and longevity of your project.
Skipping the Preparation Stage
Rushing into painting without proper preparation often leads to uneven finishes. I always clean the furniture thoroughly to remove dirt and grease before sanding. Skipping sanding allows old finishes, scratches, or tannin stains to show through the paint. Neglecting primer application causes tannin bleed-through and poor paint adhesion, reducing durability.
Using Low-Quality Materials
Using low-quality paint, brushes, or primers results in an inconsistent finish. Inferior paint often chips easily or fails to provide sufficient coverage. I recommend investing in high-quality, durable primers like oil-based or stain-blocking water-based options. Cheap brushes create visible streaks, while high-quality synthetic or natural brushes ensure a smooth, professional application.
Conclusion
Painting oak furniture is a rewarding way to breathe new life into timeless pieces while showcasing their natural beauty and durability. With the right preparation, tools, and techniques, you can achieve a professional finish that enhances your home decor and stands the test of time.
Taking the time to properly clean, sand, and prime your furniture ensures a smooth, long-lasting result. By choosing high-quality materials and avoiding common mistakes, you’ll set yourself up for success and enjoy the transformation of your oak furniture for years to come.
Frequently Asked Questions
Why is oak furniture a good candidate for painting?
Oak furniture is durable, has a smooth texture, and features a prominent grain that absorbs paint evenly when properly prepared. Its strength and timeless appeal make it suitable for painting projects that refresh and modernize your home decor.
What kind of paint is best for oak furniture?
Acrylic, chalk, and oil-based paints are popular for oak furniture. Each type offers specific advantages—acrylic for easy application, chalk for a matte finish, and oil-based for durability. Choose based on your design goals and the furniture’s use.
Do I need to sand oak furniture before painting?
Yes, sanding is essential to remove old finishes, smooth imperfections, and ensure proper paint adhesion. Using 120- to 150-grit sandpaper provides a surface ready for primer and paint.
Why is a primer necessary when painting oak furniture?
A primer seals the oak’s grain, prevents tannins from bleeding through, and ensures smooth, even paint coverage. Use an oil-based or high-quality water-based primer for the best results.
How do I avoid streaks when painting oak furniture?
Use thin, even coats of paint and allow them to dry completely between layers. Sand lightly between coats for a smooth finish and use quality brushes or rollers to minimize streaks.
Should I seal painted oak furniture?
Yes, sealing painted oak furniture with a clear topcoat protects the finish, enhances durability, and helps maintain its appearance. Apply the topcoat evenly and avoid pooling for a professional look.
How do I prepare oak furniture for painting?
Clean the surface with mild soap to remove dirt, sand with 120- to 150-grit sandpaper to smooth imperfections, and wipe with a tack cloth to remove dust. Then, apply a high-quality primer before painting.
Can I skip primer when painting oak furniture?
Skipping primer is not recommended. Without primer, oak’s grain and tannins may bleed through, resulting in an uneven and less durable finish.
What mistakes should I avoid when painting oak furniture?
Avoid skipping preparation steps like cleaning, sanding, and priming. Don’t use low-quality paint or brushes, as they lead to uneven finishes. Rushing the process can also compromise the final results.
How do I choose the right paint color for oak furniture?
Consider your interior design, whether you want the oak’s grain to show, and maintenance requirements. Test colors on a small area of the furniture to ensure satisfaction with the final result.